
GUIDE:- FAN VALVE
- FAN VALVE
Materials Needed: 1′ of plastic, Velcro, Tape, Scissors, Fan,
Take your microfiber cloth and dust your fan and it’s edges.
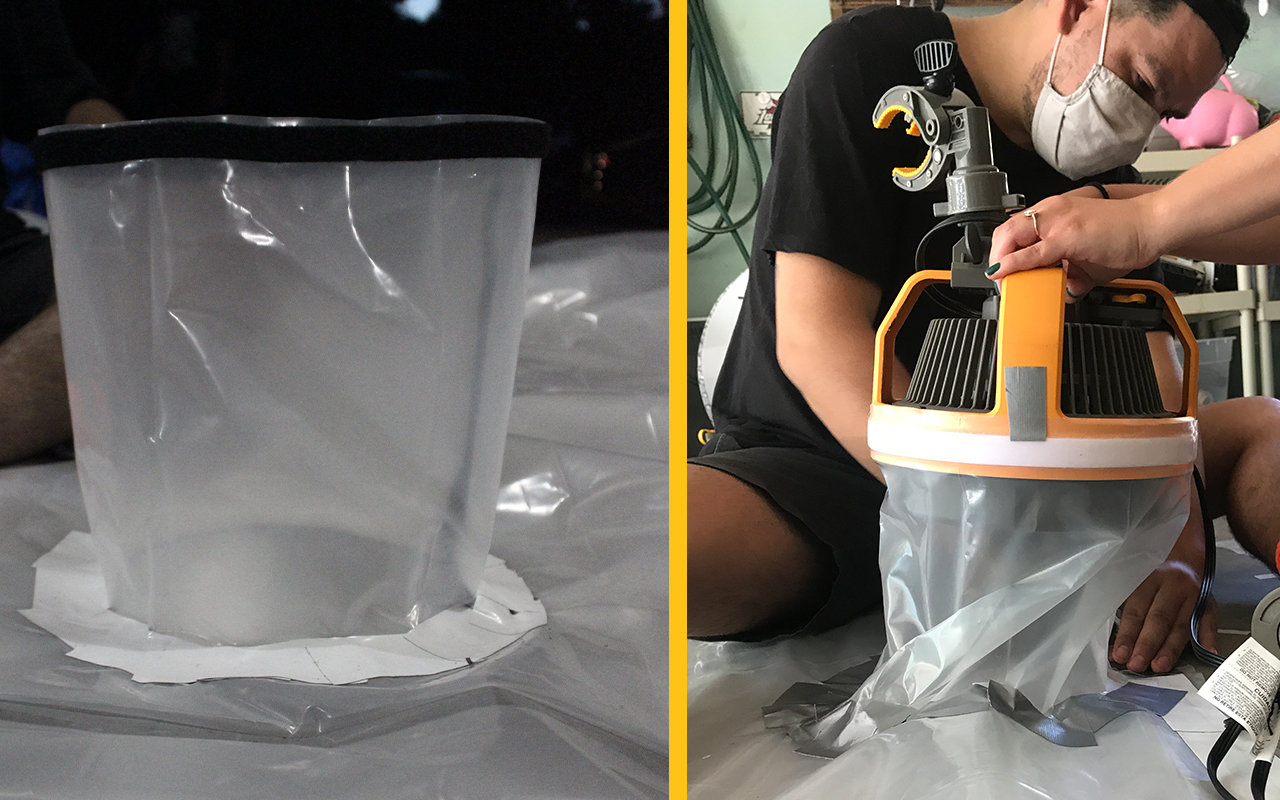
Take your last 1’of plastic sheeting left and wrap it around the fan.
- Cut one-inch past diameter.
- Fold or roll up your plastic and cut three to four 1” slits.
- This helps create tabs to tape around the fan hole in Sheet #2.
Take the remaining strip of velcro and attach it to the rim of the fan.
- Cut off excess velcro.
- Press down to secure.
Take the alternating adhesive off and attach it to the straight edge of your plastic.
Stretch your plastic and press against the velcro to make a tight fit for the plastic valve.
- Wrap it back around the diameter of the fan.
- Press down to secure.
Remove the valve from the fan and set aside.
- Use the remaining amount of velcro and attach lengthwise on the overlap of the plastic.
This way you can insert lights and cables from the fan opening instead of the plastic sheet which can cause tearing.
Attach the tabbed end of the valve and tape it to the fan hole in Sheet #2.
GUIDE:- INFLATING THE BUBBLE
- INFLATING THE BUBBLE
Materials Needed: Fan, Tape, Exacto Knife or Scissors, Tarp
NOTES:
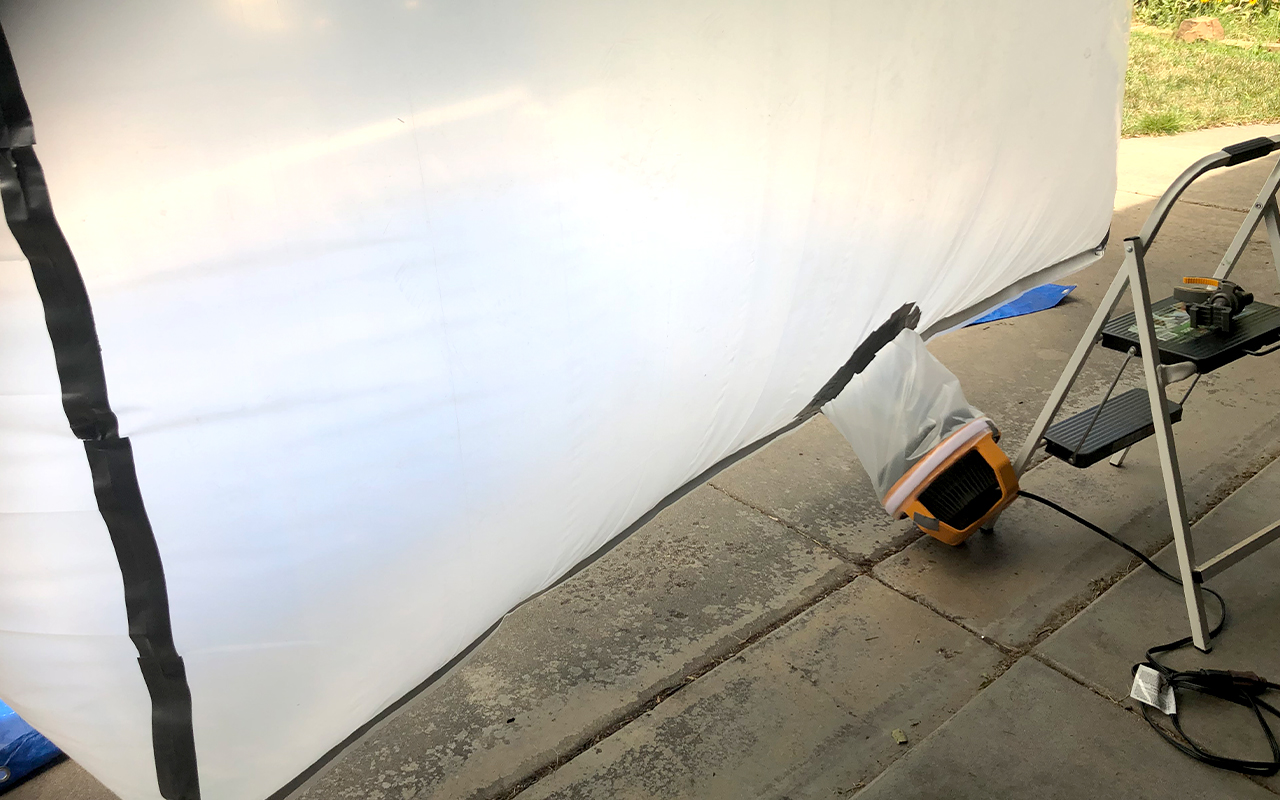
Vornado Fan Users: Either remove the C-Clamp and lay your fan on the ground or use it to attach to a sturdy and weighted object (sawhorse, cement block, et). Do not obstruct the airflow.
When you’re ready to test and inflate:
- Move a tarp or a blanket to put between the ground and your bubble. This helps keep your bubble safe from puncturing on rocks or sticks.
Attach your fan and turn it on! These Vornado fans only take about 15 minutes to inflate.
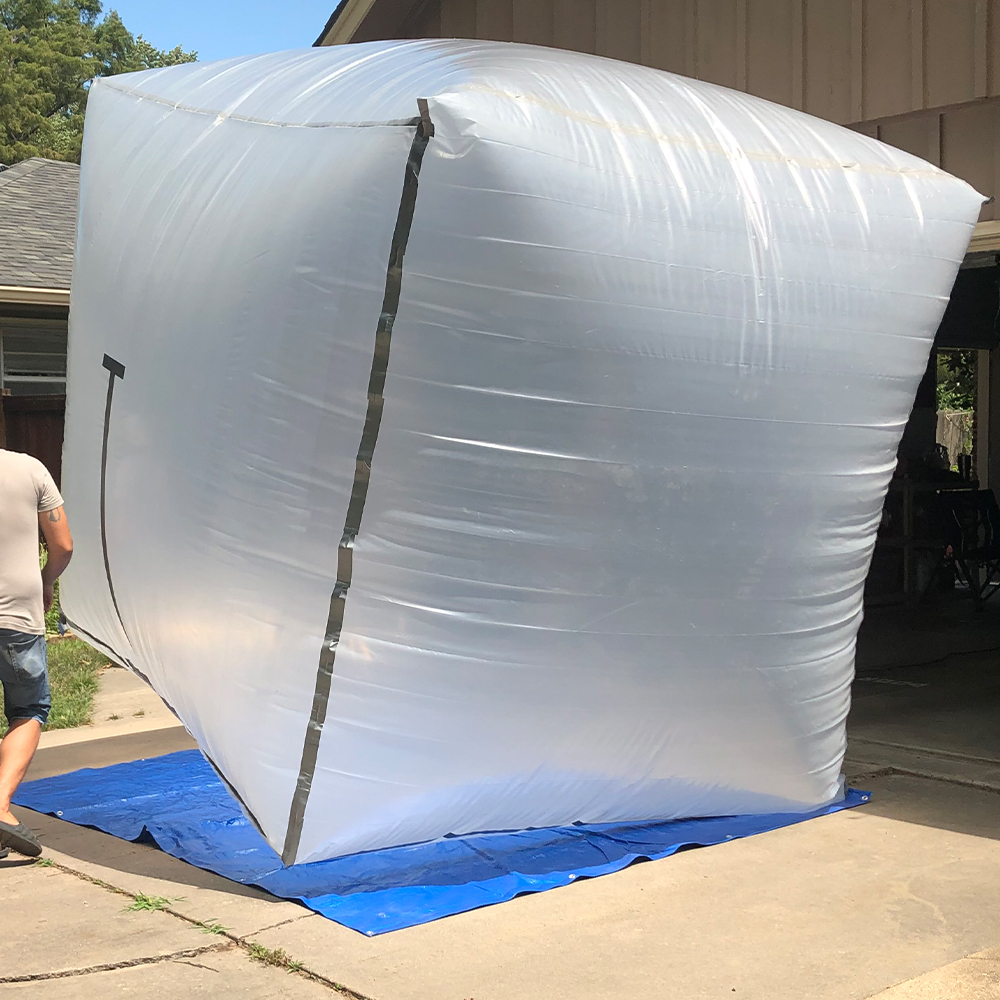
These are incredibly lightweight. If there is a little bit of wind… Have someone available to help you hold the bubble down.
When it completely inflates, get your Exacto knife or scissors and cut the “T” line of tape for the door. This person can get inside and help tape up any leaks too.
- Be careful to not cut the door flap. It’s okay if you do – Just use more tape!
WEIGH YOUR BUBBLE DOWN
Kansas winds are perilous against these bubbles in outdoor weather. Consider items to weigh your bubble down in the corners. We do not want these bubbles to take flight!

My Bubble Is Deflating!
Check your seams! There may be a leak!
Another heads up: If the door doesn’t attach or velcro shut… it will deflate!
Illumination Ideas
No open flames allowed. LED bulbs only.
For the outside, we have utilized LED ring lights and inside we have taped LED rope/holiday lights to the bottom edge to give our bubbles a wonderful glow.
Packing Up The Bubble
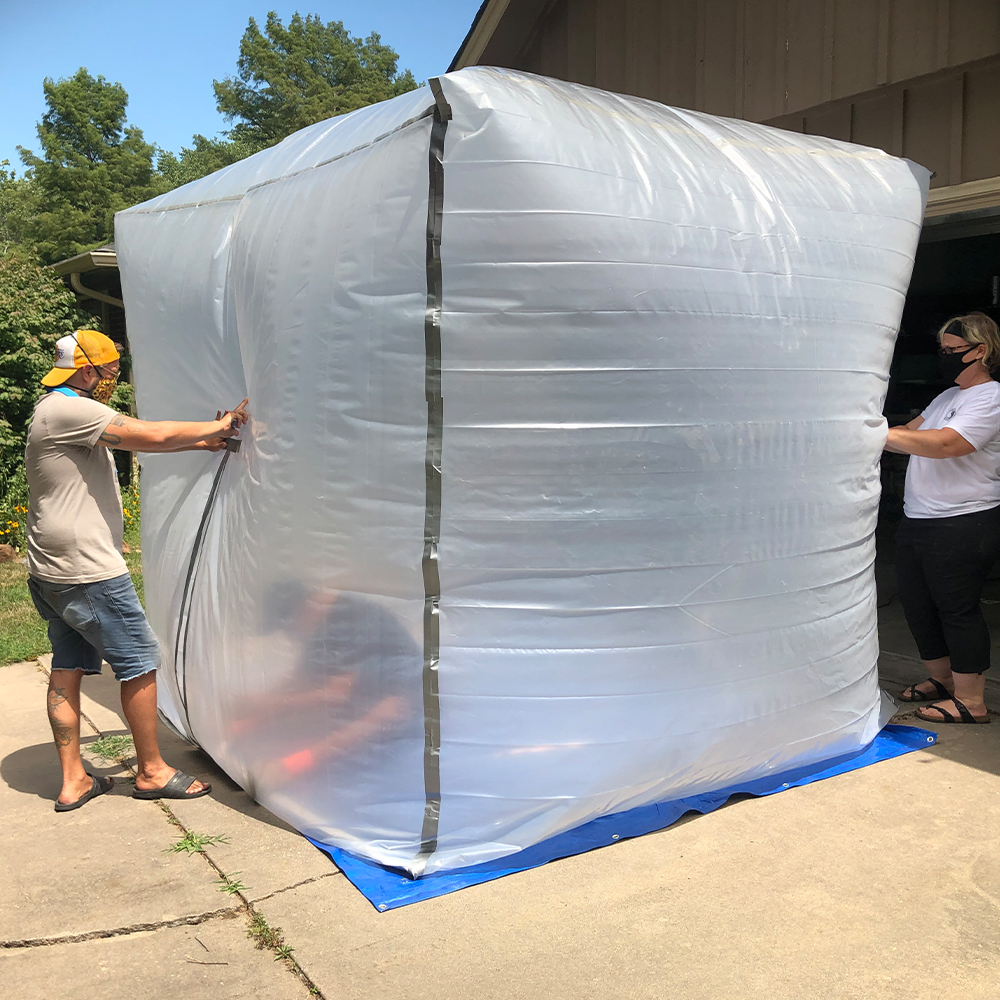
Turn off your fan and remove it from the plastic. It can be done with two people, but three is helpful for speed.
Have everyone take an edge or a corner and continue to gently press the air out.
Fold two sides in towards the middle and then fold in half. Fold in half another time and roll up like an air mattress or sleeping bag. Bind it together with string or a bungee cable.
Bubble Assistants: Seth Blume, Heather Wooldridge, Armando Minjarez, Ellie Keppy, and Arietta Austin